Hi Everyone!
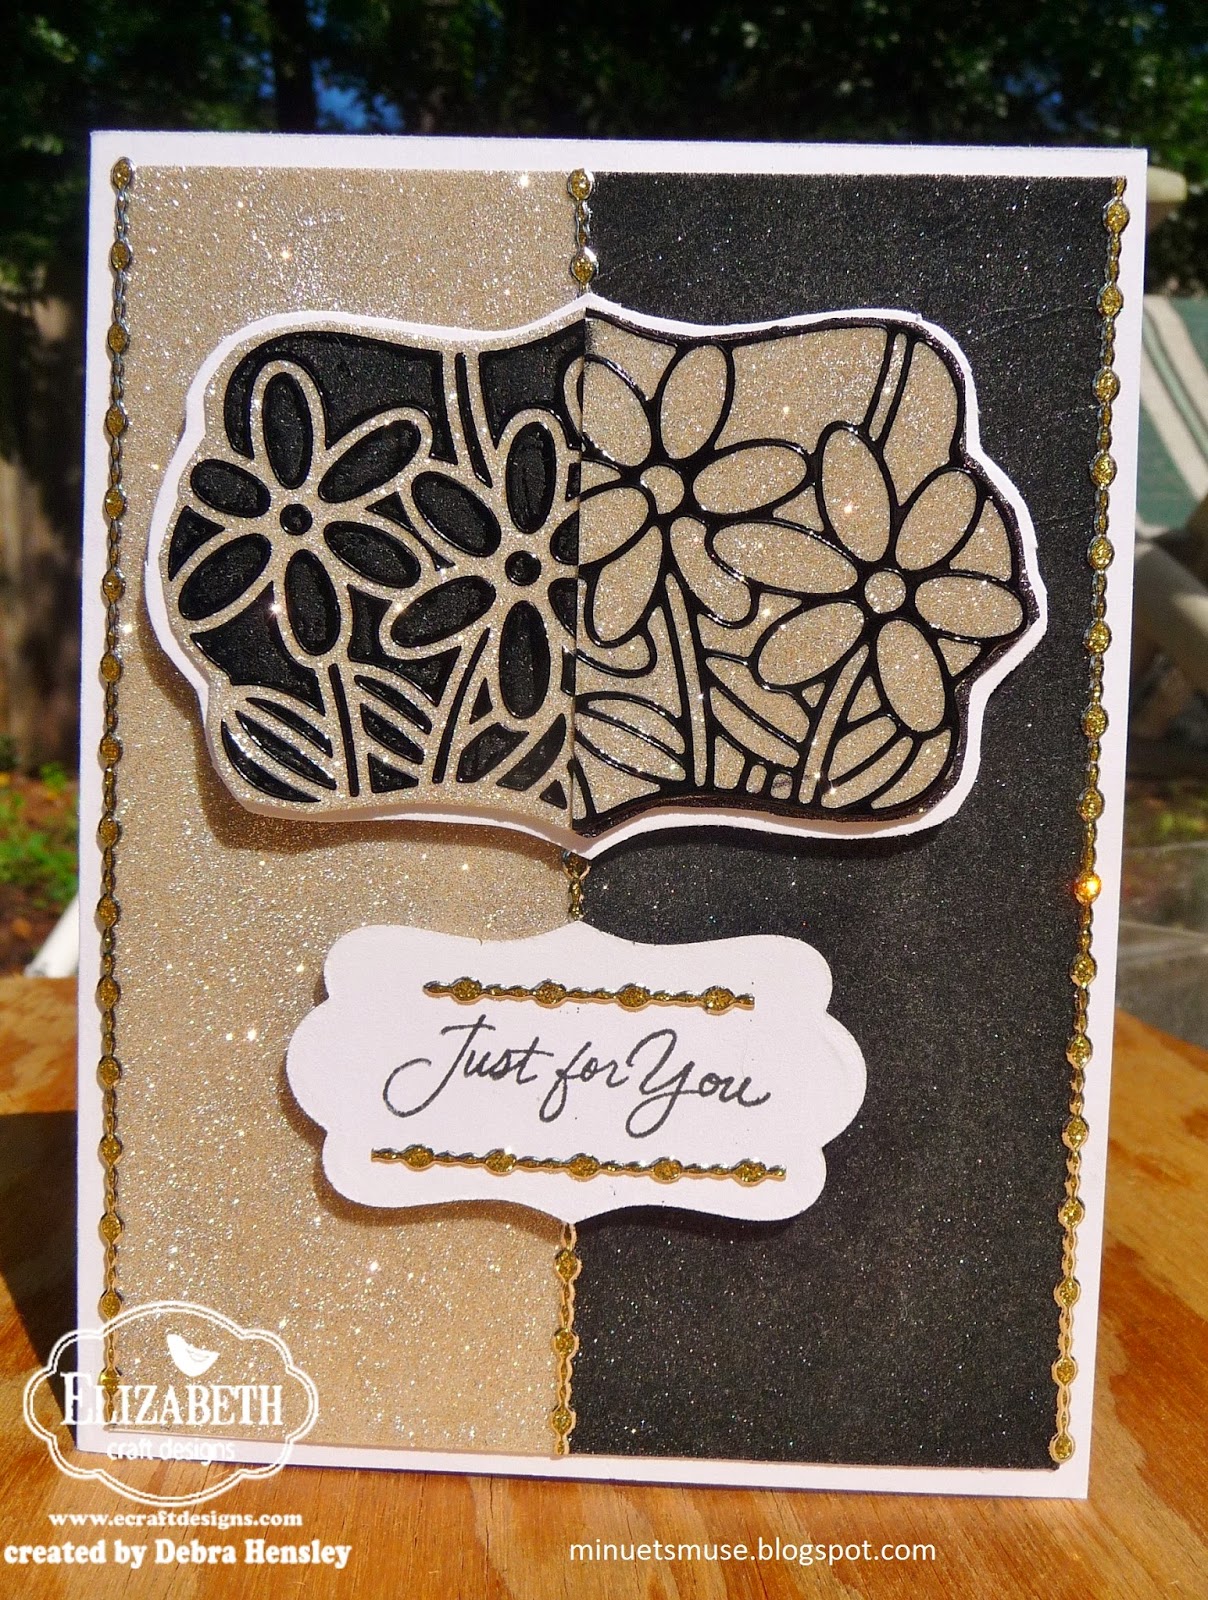
It's the end of the month and that means it's time to share my card for the Elizabeth Craft Designs May Designer Team Challenge- flat cards. I've created a split negative card using lots of sparkly glitter and the positive and negative pieces of the Flower Labels 1 Peel- offs. I have to apologize- I have been down with the stomach flu and wasn't able to do a photo tutorial for you but I will walk you through the instructions and supplies. Hope you enjoy the card!
Instructions:
1. Fold a white 4 1/4 x 11 cardstock in half to form an A2 size card base. Cut a white piece to 4 x 5 1/4. Cover with double sided adhesive. Remove the release sheet and cut it in half with a paper trimmer. Place one half of the release sheet on the tape and sprinkle Basic Black Silk Microfine Glitter. Polish well before removing the release sheet. Glitter the other side with Antique Silver Silk Microfine Glitter. Brush off excess and polish well to set.
2. Apply double sided adhesive to a piece of white cardstock big enough for the Peel- Off and another big enough for the negative. Apply the Peel-Off to the release sheet sticky side up and place the adhesive covered cardstock over it to transfer the Peel-Off. Glitter with Antique Silver and polish. Trim closely.
3 Glitter the remaining adhesive covered cardstock with Antique Silver. Using a transfer sheet, transfer the negative pieces of the Peel -Off to the glittered piece. Trim out leaving a slight edge.
4. Place both glittered pieces on top of each other, exactly lined up and cut in half with a paper trimmer. Match up one of each side, opposite the color of the base card below-for your focal image. This gives you the split negative look.Adhere to a white base, trimmed closely but leaving a slight edge.
5. Diecut white cardstock using the smallest of the Katie Label accessory dies. Stamp sentiment in black. Add Glitter Border Strips to sentiment and on card front down middle and both sides. Add split negative piece and sentiment on pop dots to complete.
Elizabeth Craft Products used:
601 Basic Black Silk Microfine Glitter
605 Antique Silver Silk Microfine Glitter
2568 Flower Labels 1 Peel-Off
600 Transfer Sheet
502 Double sided Adhesive Sheets
7010 Glitter Border Assorted- Silver/Gold
768 Katie Label Pivot Card Die